Invoices
Introduction
Invoices+ is a project-based application available on our Business and Enterprise plans that allows you to send estimates, invoices, and even track payment history with the click of a button.
With Invoices+, contact information is safely stored in a centralized location so you can confidently begin the next step in your business relationship.
Features include:
- Freshbooks Import
- Estimates and Terms & Conditions Templates
- Invoice Payment History
- Duplicating Invoices
- Adding Invoice Payments and Deposits
- Client Reminders
- Special client view and print view versions
- Client Management
- Online payments via PayPal
- Integration with Freedcamp Time Application
- Unlimited Currency Support
Adding Invoices+
Please see this documentation article for a guide on installing/removing add-ons and managing user access.
Accessing Invoices+
After it is installed, Invoices+ can be accessed from:
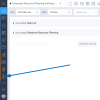
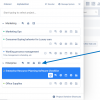
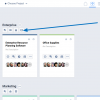
(1) Your project’s left-side menu, (2) The Project Picker menu, (3) The Projects board
note: click on the images above to enlarge them
Getting Started
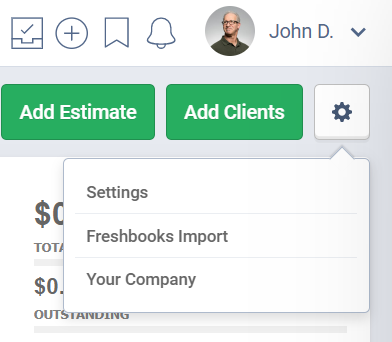
By clicking on the gear icon in the top-right of the page, you’ll be able to access:
Settings. This allows you to: Choose your default currency, Add a link to your Terms and Conditions page, Enable/Disable PayPal payments, Link CRM contacts with Invoices+, Add your logo.
Freshbooks Import. If you’re switching over from Freshbooks, you can import your invoices and contacts from via API. Note: only the old Freshbooks version is supported.
Your Company. You can add your name, contact info, address, legal identifier etc. These details will appear on your invoices.
Invoices
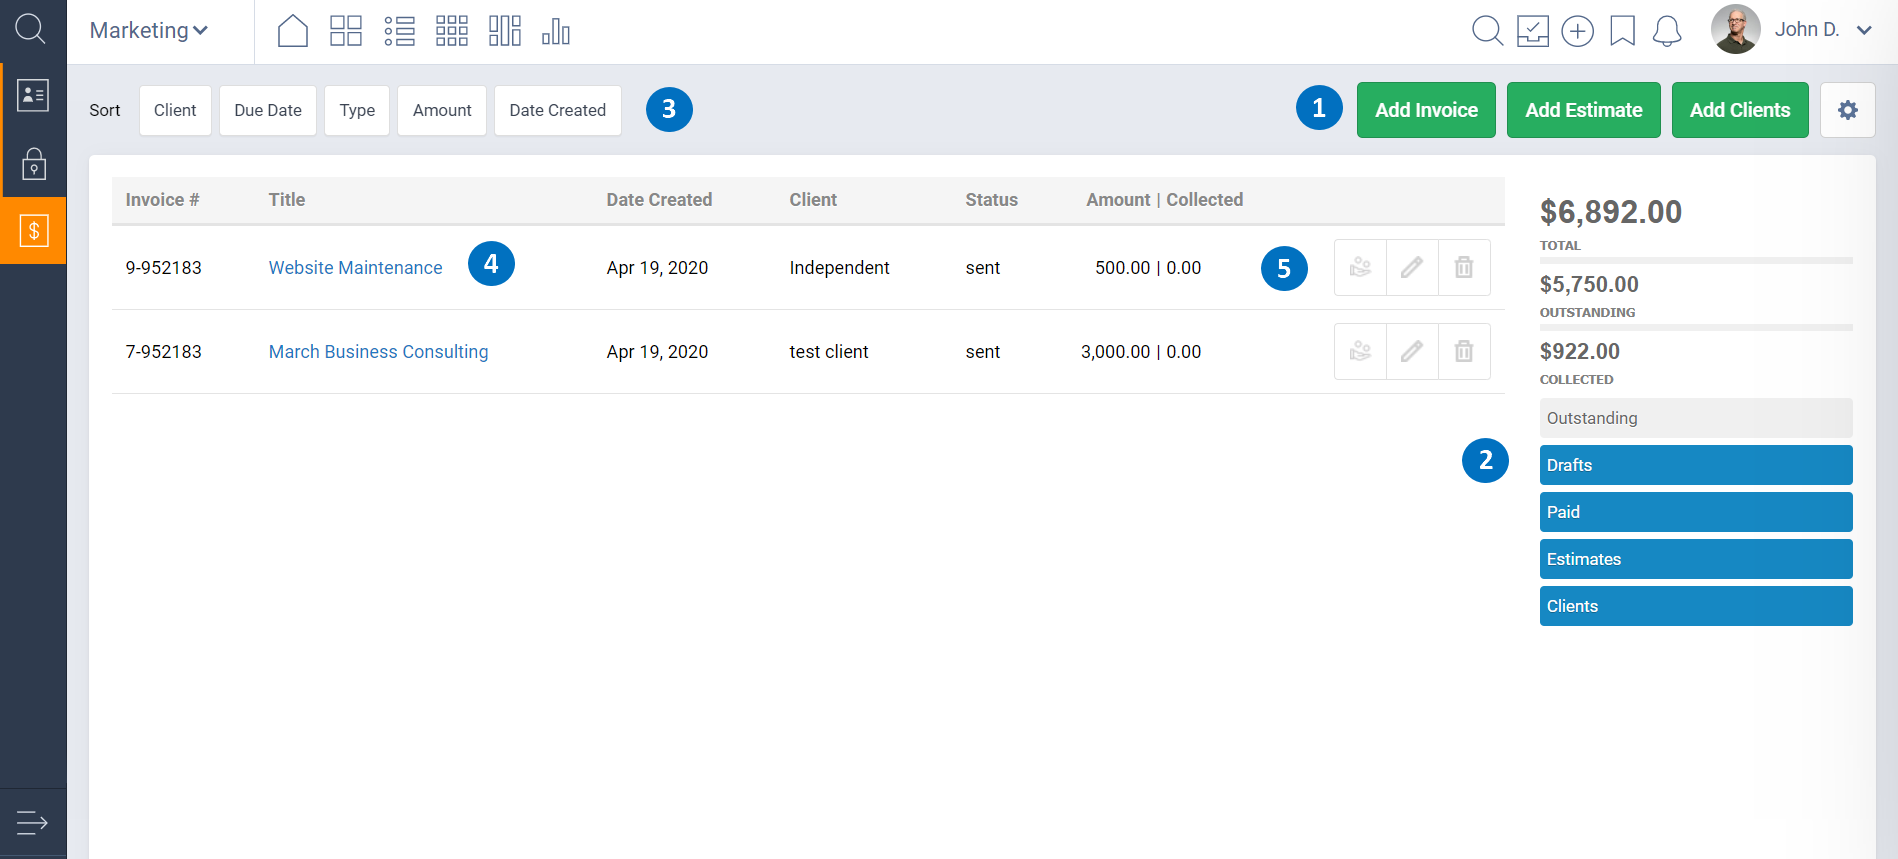
To invoice someone, press the Add Invoice(1) button at the top-right of the page. You’ll be able to view outstanding, paid and draft invoices on the right-hand menu(2), and use different sorting options(3).
Clicking on an invoice's title(4) will take you to its page, where you have multiple options, explained in the Using Invoices section. On the main invoices page, you also have the option to Add a Payment, Edit and Delete(5).
Creating Invoices
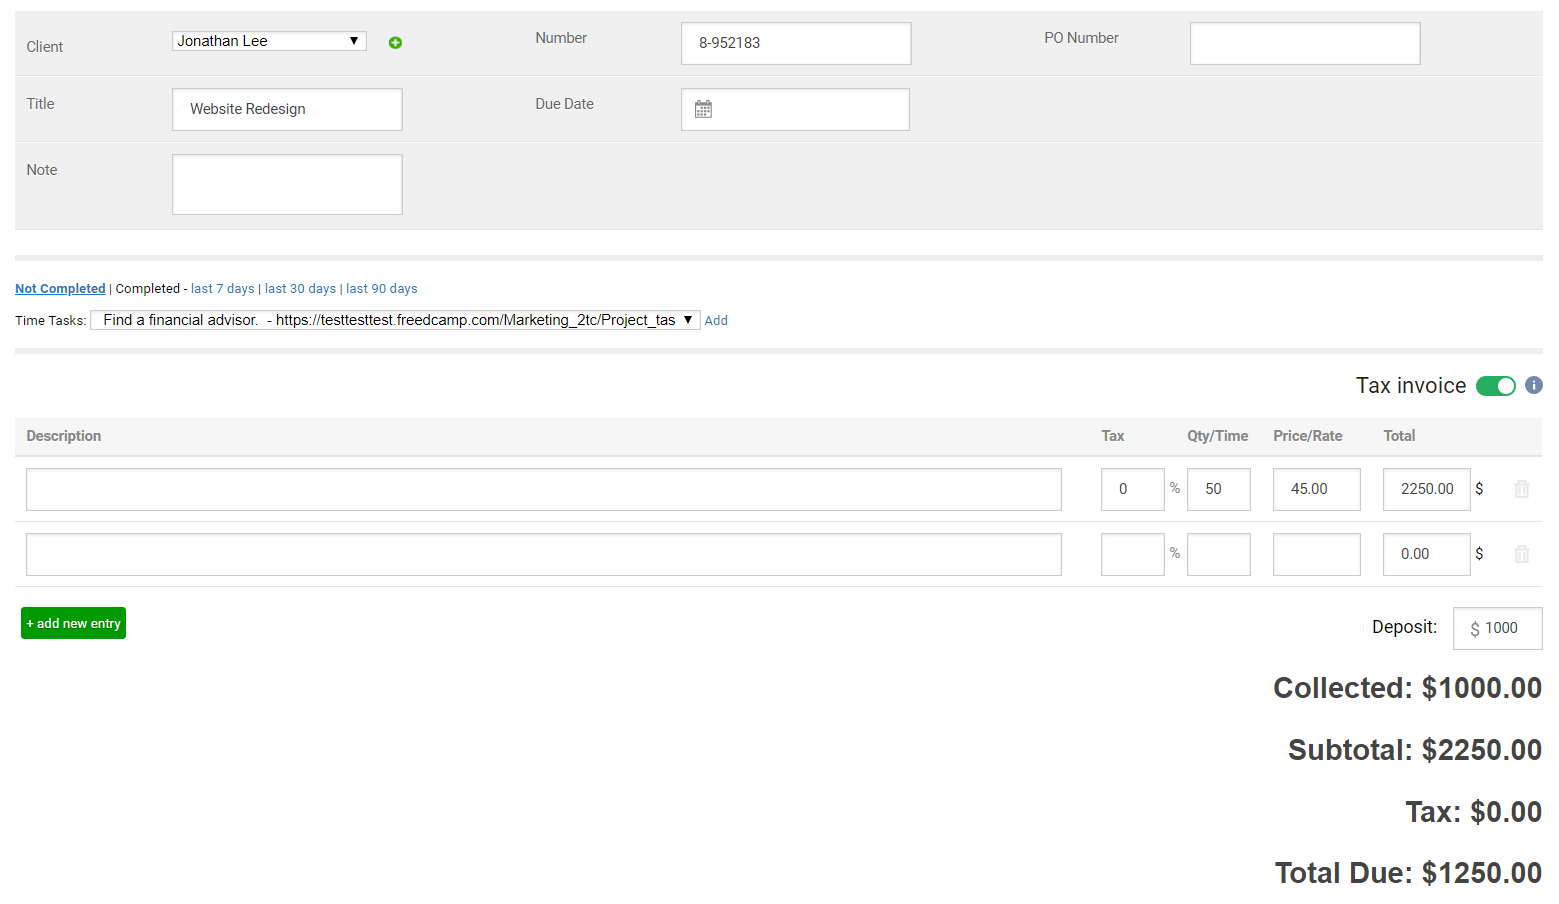
When creating an invoice, you are presented with multiple options. Everything on this page can be edited. If you realize you made a mistake after you already sent the invoice, simply edit it and explain what happened in the Notes section. The client will receive a new invoice with the correct numbers and the explanation.
Integration with the Time Application
Linking Invoices to Time entries is straightforward. When creating or editing an invoice, go to the Time Tasks section, select a time entry and click the “Add” button.
Note: You can attach time entries to your invoices, but only from projects in the same group as the Invoices+ app. More info here.
Using Invoices
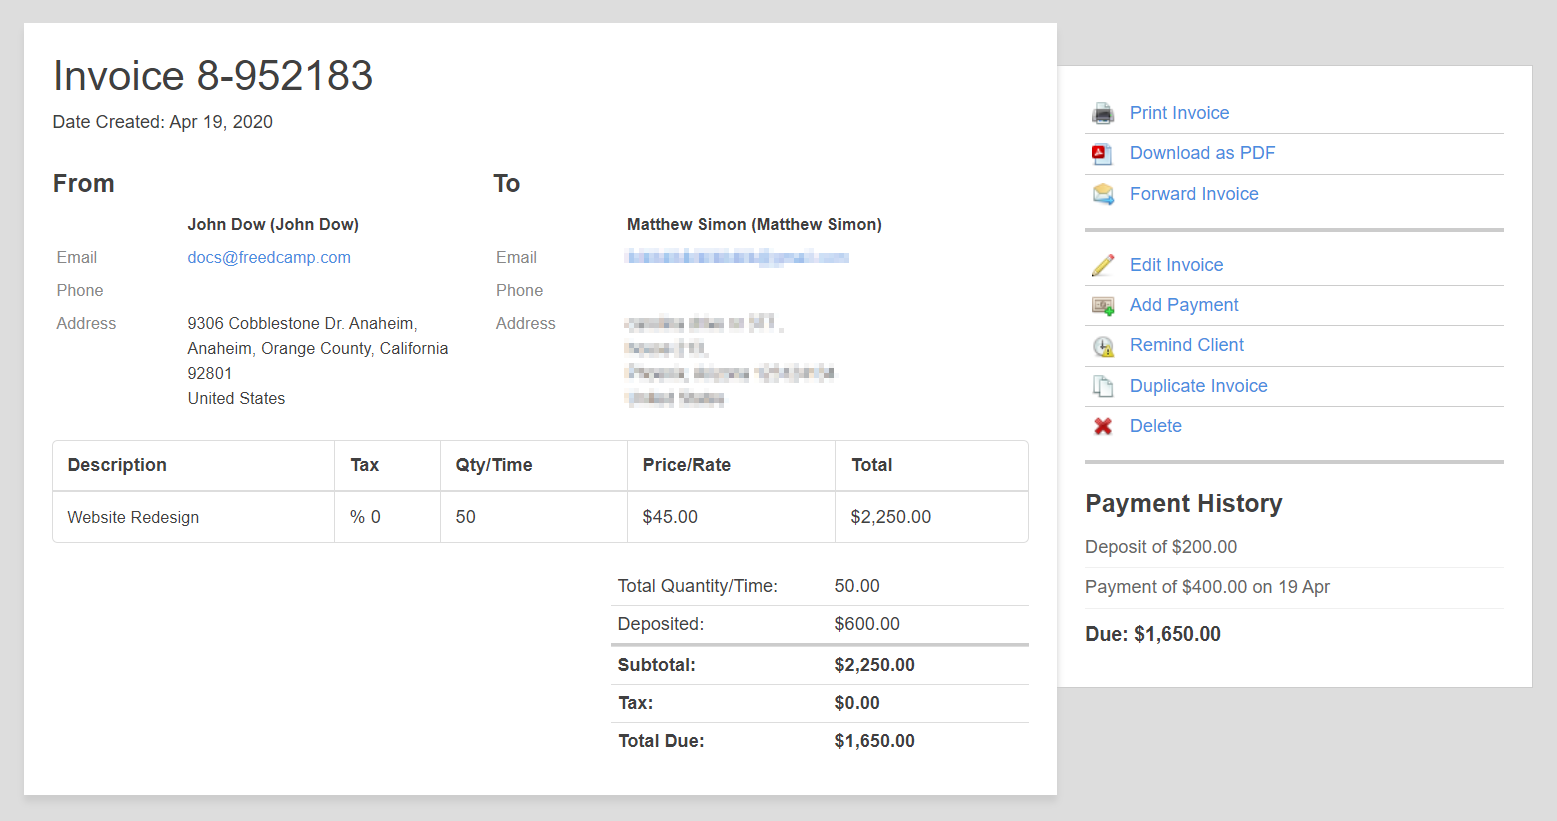
After an invoice has been created and sent to the client, you can access multiple options by clicking on its title in the Invoices+ add-on: Print, Download, Forward, Edit, Add Payment, Remind Client, Duplicate and Delete.
Payments can also be deleted by clicking the Trash icon next to them.
Clients
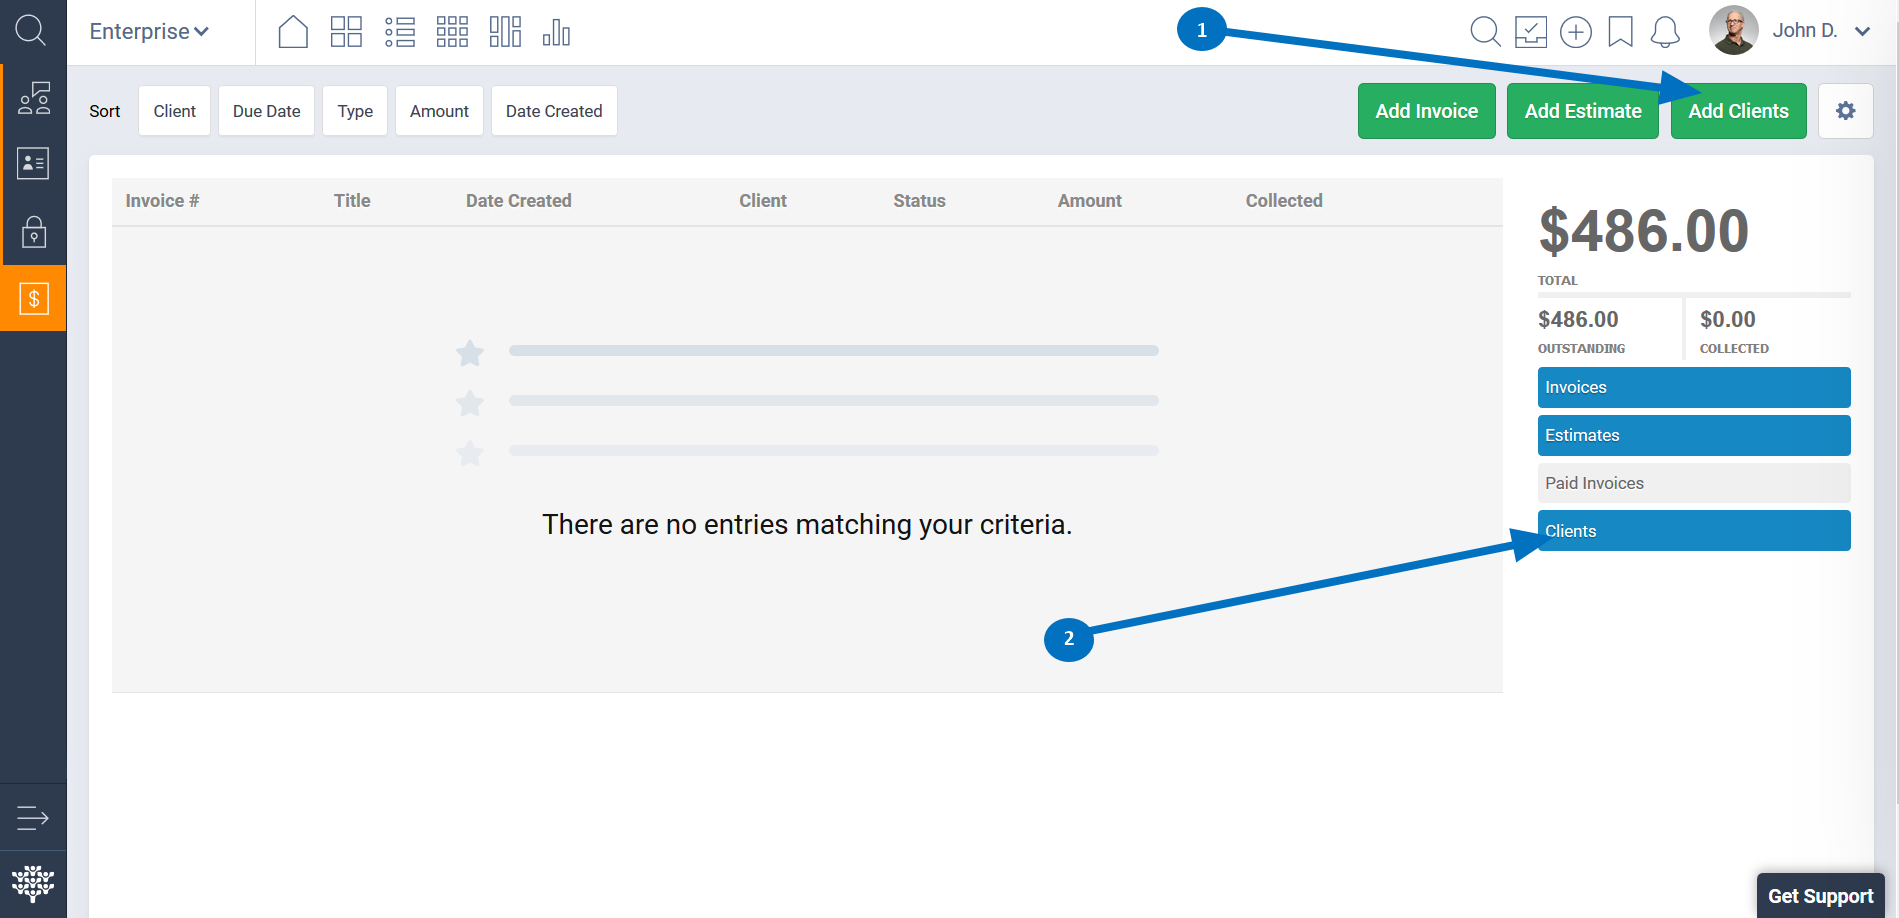
You can add clients by clicking the green Add Clients(1) button at the top-right of the page. After saving the client’s details, they’ll appear in the Clients dropdown menu of the invoice form.
You can view, edit and delete your clients by clicking on the blue Clients button(2).
Note: You can also invoice CRM contacts, but this will only work if both apps belong to the same group. To enable this option, click on the gear icon in the top-right of the page and select Settings.
Estimates
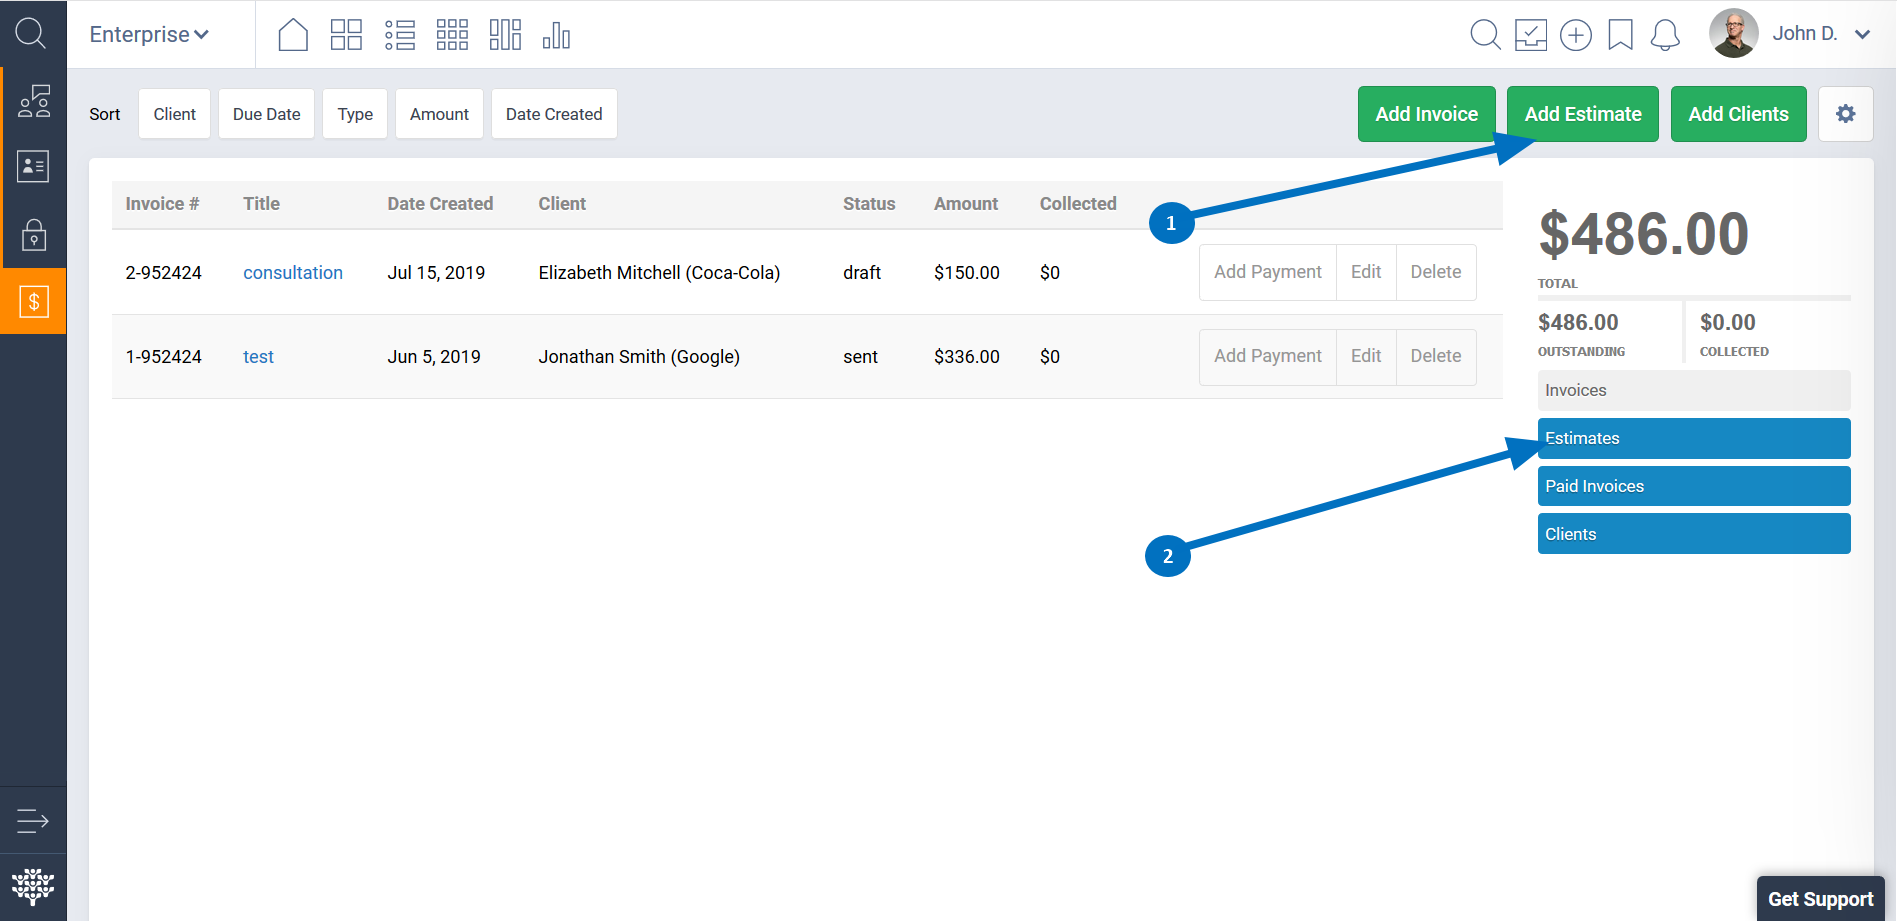
Before starting the work, you can send your clients estimates by pressing the Add Estimate(1) button. All your estimates can be managed by pressing the blue Estimates(2) button, and you also have the option to turn an estimate into an invoice.
FAQ
How to use different terms and condition for estimates and invoices?
Recommended Chrome extension - https://templates.gorgias.io/
Additional Info
We always like to hear feedback from our users. If you have any suggestions for Invoices+, see this page for the most common requests. If yours isn’t there, please make a new post. Both creating a post and upvoting an existing one will keep you updated on its progress.
