Customer Relationship Management (CRM)
Description
How to install the CRM
Please see this documentation article for a guide on managing Group/Project/User add-ons and modules.
Using the CRM
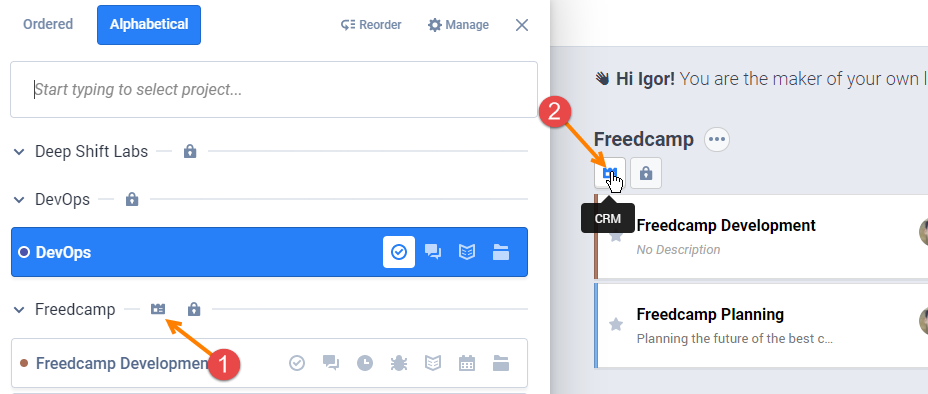
CRM, as a project group application, can be also accessed from project picker (1) and Dashboard (2) as shown below:
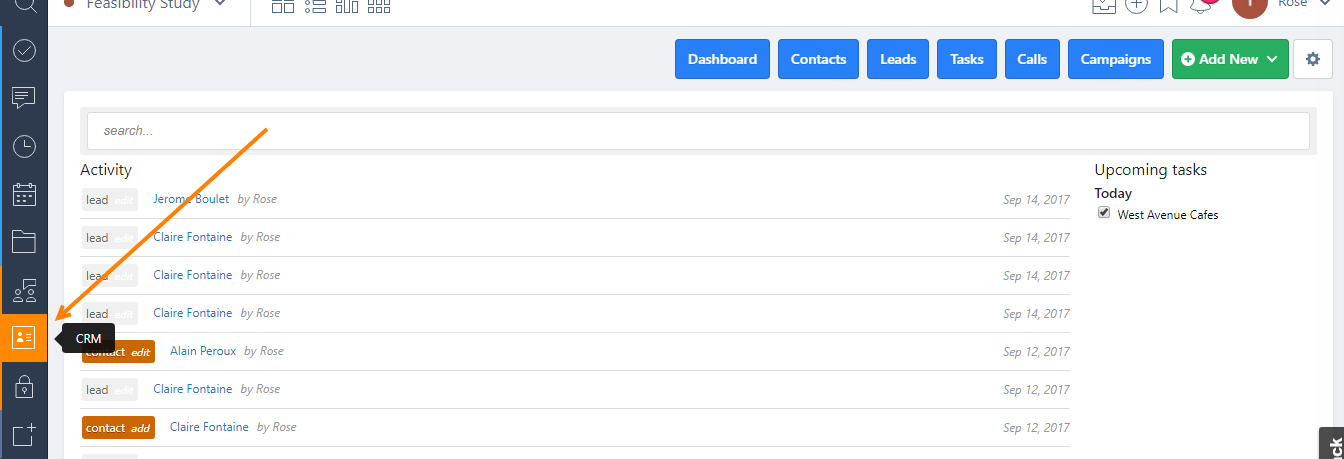
To access the CRM dashboard click on the tab (if on the group dashboard) or icon (from project picker or Dashboard) labeled CRM. The main dashboard for CRM will be displayed. Here you can navigate to complete different tasks.
The CRM main dashboard will display an overview of all contacts, leads, tasks, and logged calls that are currently within each section.
From the settings icon, you can create a custom field, import/export a file, or delete all contacts and leads.
Contacts
Importing
To import contacts, click the settings icon and select Import. You can import: a vCard file, a CSV file or an excel file. A template is provided at the bottom of the import pop-up.
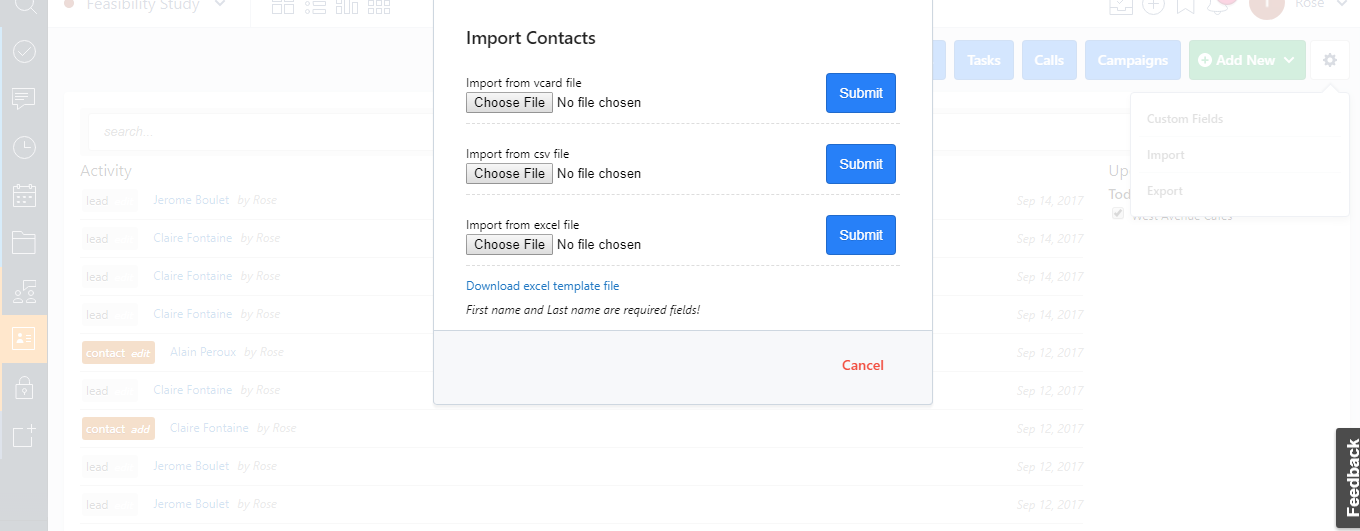
There's also an export option that allows you to export your contacts in the same formats as above.
Creating a New Contact
- To create a new contact click on the green button labeled “Add Contact”
- In the lightbox fill in the information asked for
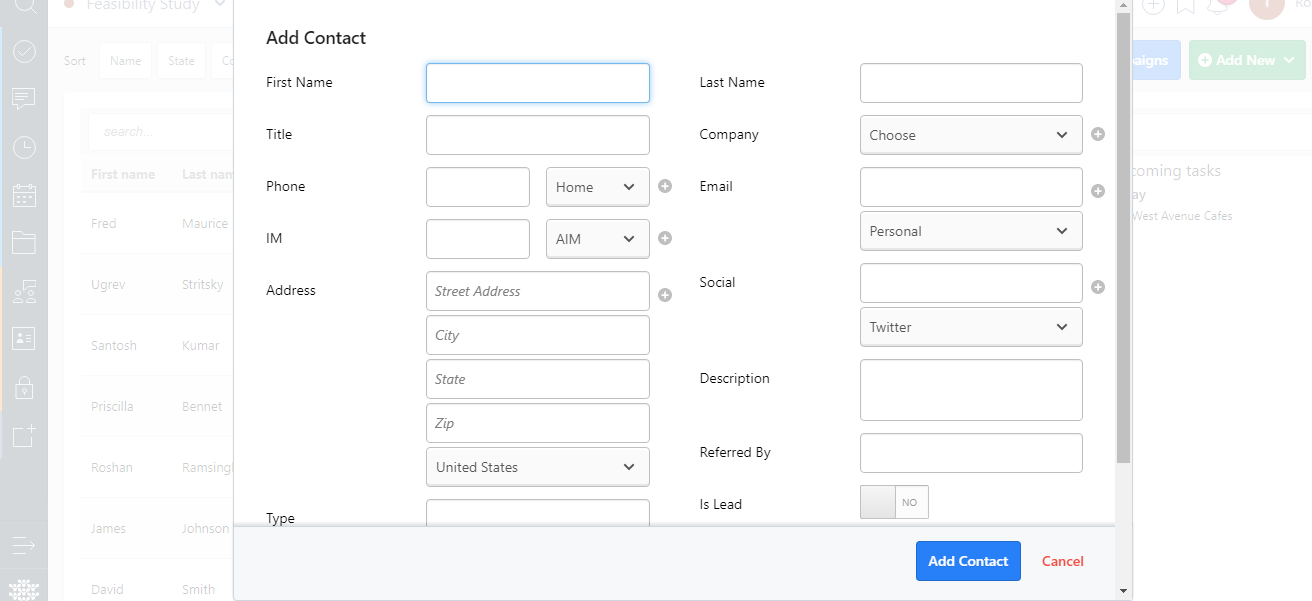
- When complete click on Add contact in the bottom right-hand corner to save the contact
Note: When filling out the lightbox, if there a contact has more than one Phone number, email, IM account, Social medium, or Address you can add more by clicking on the green “+” button.
Viewing, editing and deleting a contact
You can add a comment to this contact's information or download their vCard into a .vcf file.
If you want to edit the contacts information then click edit and then revise the information in the lightbox provided.
If you want to delete a contact simply press the gray “delete” button to the right of the desired contact entry.
Leads
Any leads entered into this field will be stored as a contact. To modify or edit do so from the CRM dashboard or under the contacts tab.
Tasks
- To add a task click the green “New Task” button.
- Fill in the information in the lightbox.
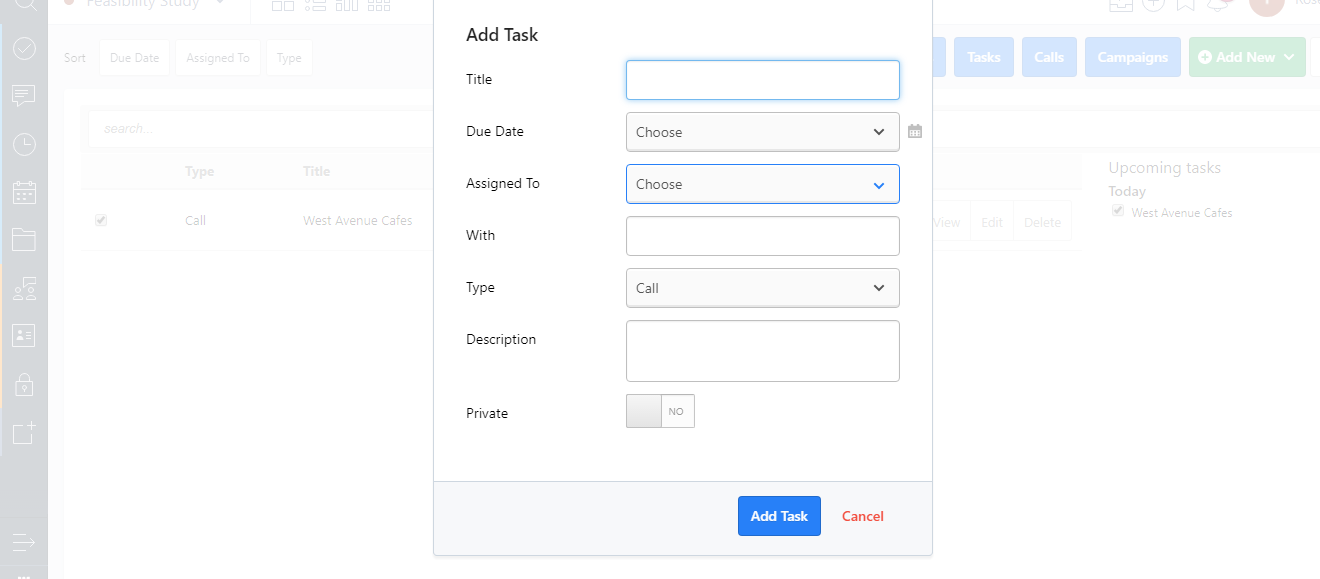
- Click on “Add Task” to save the Task
To look at all the tasks click on the blue “Tasks” button on the right-hand side to open the CRM Dashboard.
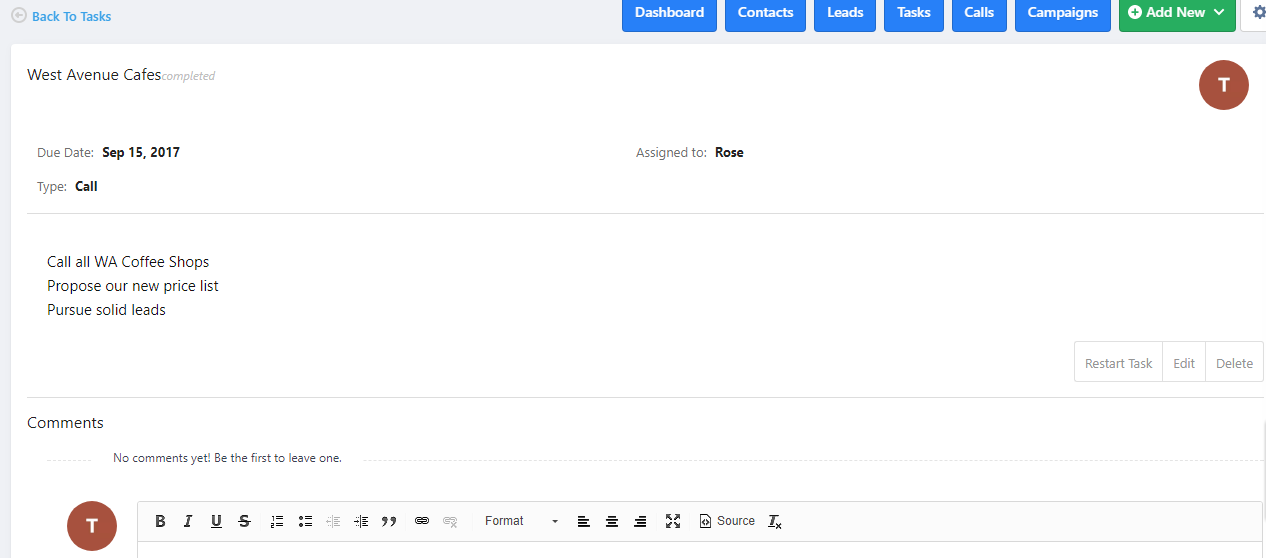
View, edit, and delete a Task:
When you press the gray “view” you will be taken to a detailed overview of the task. From here you can add a comment to the task, edit or delete.
If you click the gray “edit” button a lightbox will be displayed allowing to edit any of the details of the task.
When the task is complete you can click the checkbox next to the left of the task to mark it complete.
If you want to remove the task click on the gray “delete” and confirm in the pop-up box.
Calls
- To log a call click on the green “Add New Call” button
- Enter the information into the lightbox
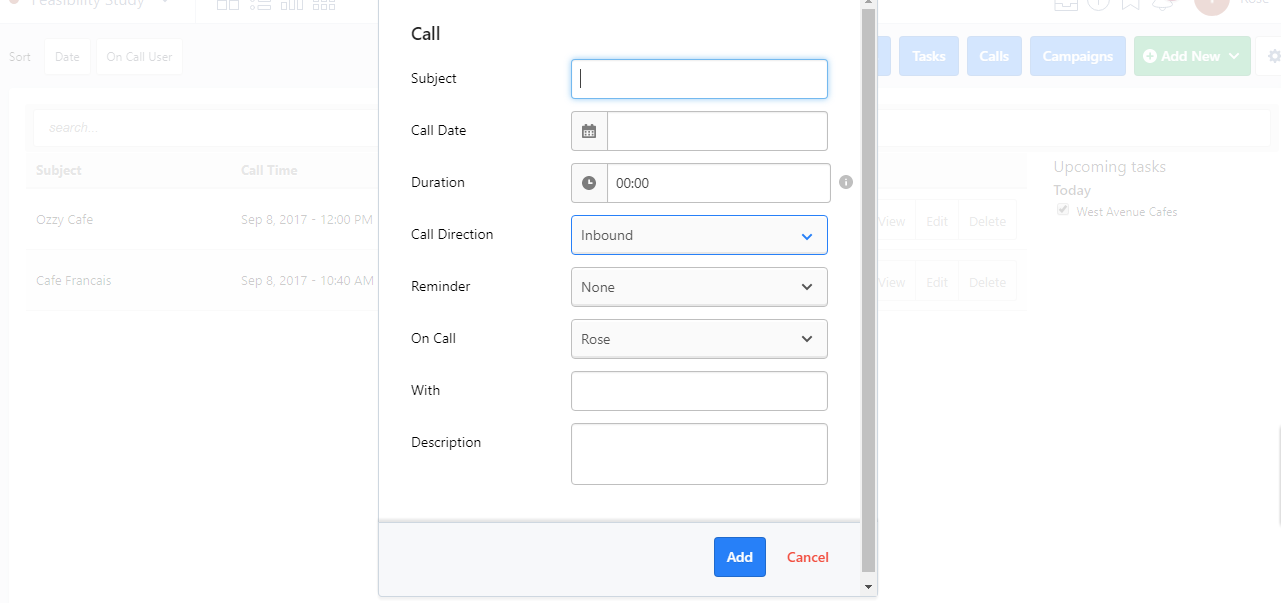
- Click on the gray “Add” button on the bottom right-hand corner of the lightbox
View, edit, or delete a logged call:
Clicking the gray “view” button will direct you to a detailed overview of the logged call. Here you can add a comment, edit, or delete the logged call.
Clicking the gray “edit” button will bring up a lightbox allowing you to edit any information on that entry.
Clicking the delete button will remove the entry.
Campaigns
- To create a new campaign click on the green “Add Campaign” button
- Fill in the information for the campaign in the lightbox
- Click on the gray “Add” button to save the campaign
View, edit, or delete a Campaign:
Clicking on the gray “view” button will direct you to a detailed overview of the Campaign. Here you can add results, edit, or delete the campaign.
Clicking on the gray “edit” button will bring up a lightbox allowing you to edit the details of the campaign.
Clicking on the gray “delete” button will remove the campaign.
New Improvements
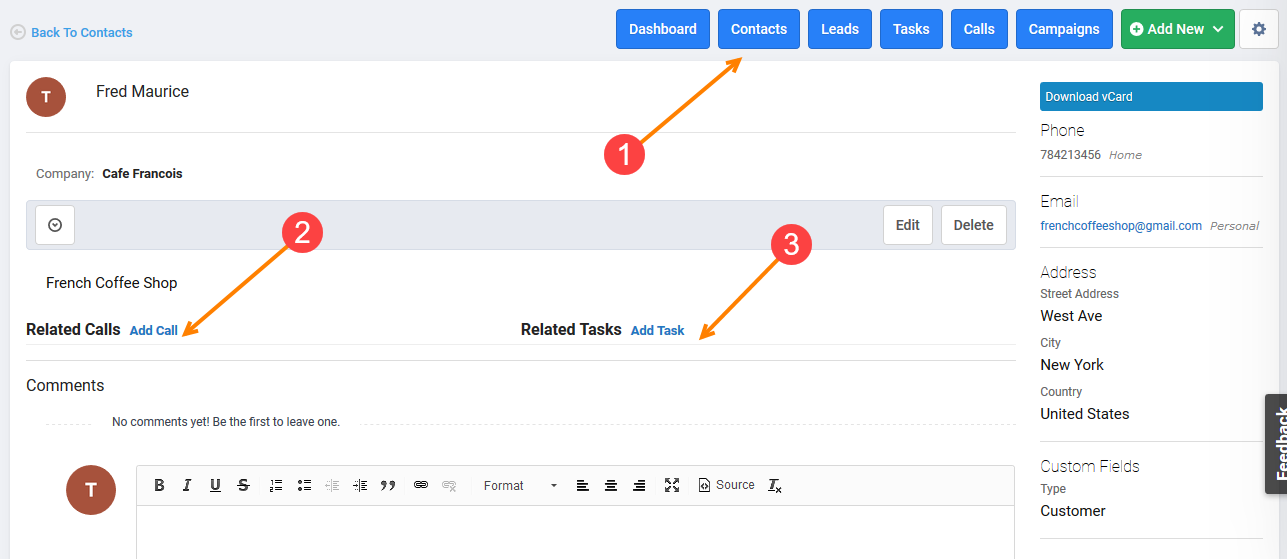
2. Viewing Lead/Contact: You now see a list of Tasks/Calls related to the Contact/Lead, and you can add new ones directly from within the view page.
For example, when you click the contact tab (1), you will access all your contacts and when you view one - you will be able to add a new call (2) or a new task (3) directly within the view page without having to close the contacts page or to click on other tabs. This is shown in the screenshot below:
3. You can now use the search function for CRM tasks and calls. Campaigns and contacts will be supported in the future. See this documentation article for more info.